

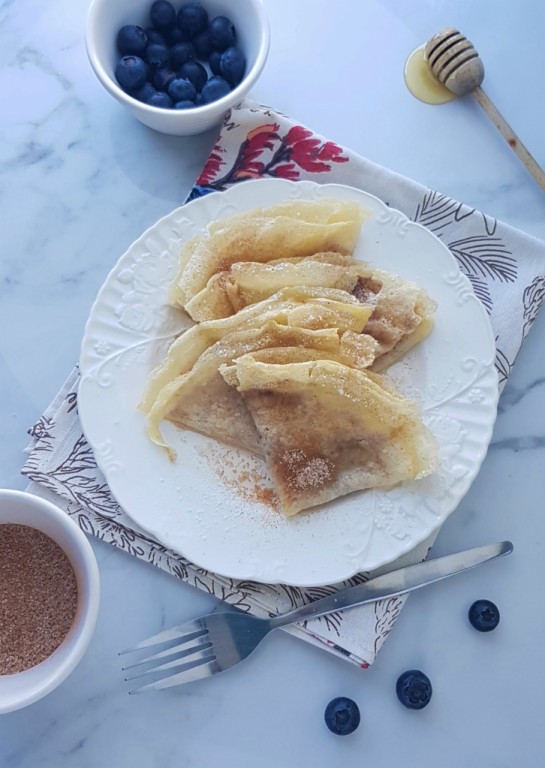
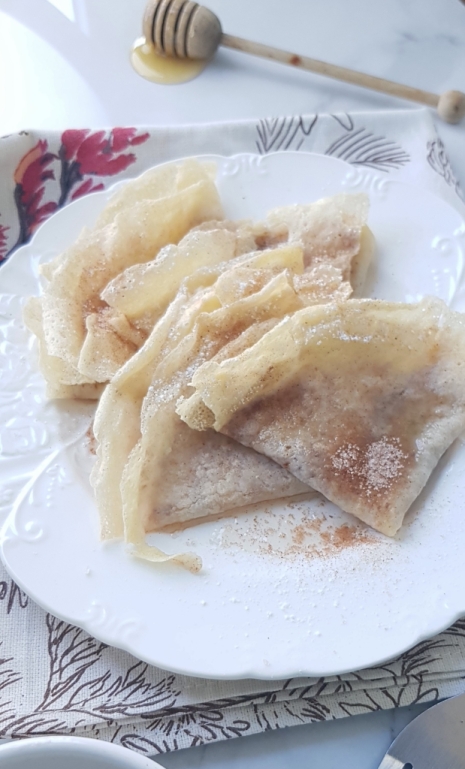
Going off gluten can be quite challenging. It’s not easy when you can’t have the things you love. Like a stack of delicious soft pancakes, the kind that are soft but still have that crispy edge. The kind that you drizzle syrup (or honey), sprinkle cinnamon and sugar over and spoon generous amounts of freshly squeezed lemon juice. Mmm….sounds yum right? So today I’m going to give you my secrets for making delicious gluten-free pancakes.
{Just a side note: Here in South Africa we call them pancakes, others know them as crêpes. Crumpets/flapjacks for us are small and round and contain baking powder.}
About this premix
First, I thought I would tell you that this pancake recipe is born out of many failed attempts not only at making them correctly, but getting the ingredients right. This recipe is based on the knowledge and experience I have gained over the years in dealing with gluten free flours and how they work as well as learning from the knowledge of many others that have come before me.
Before we start, some tips
So just a few tips before we get into the recipe..
- Make sure you use a stainless steel, non-stick pan
- Always heat up your pan for 2 minutes on a high heat. (this point is really the make or break of making pancakes) I add a tiny dash of olive oil at this stage and swirl my pan around.
- Once your pan/oil is heated, turn it down to a medium high temperature. Then taking a piece of paper towel, wipe away most of the oil. You just want a residue left on the pan. Otherwise your pancakes will be oily. (you can use coconut oil or butter or some other type of oil, just make sure to wipe most of it off.)
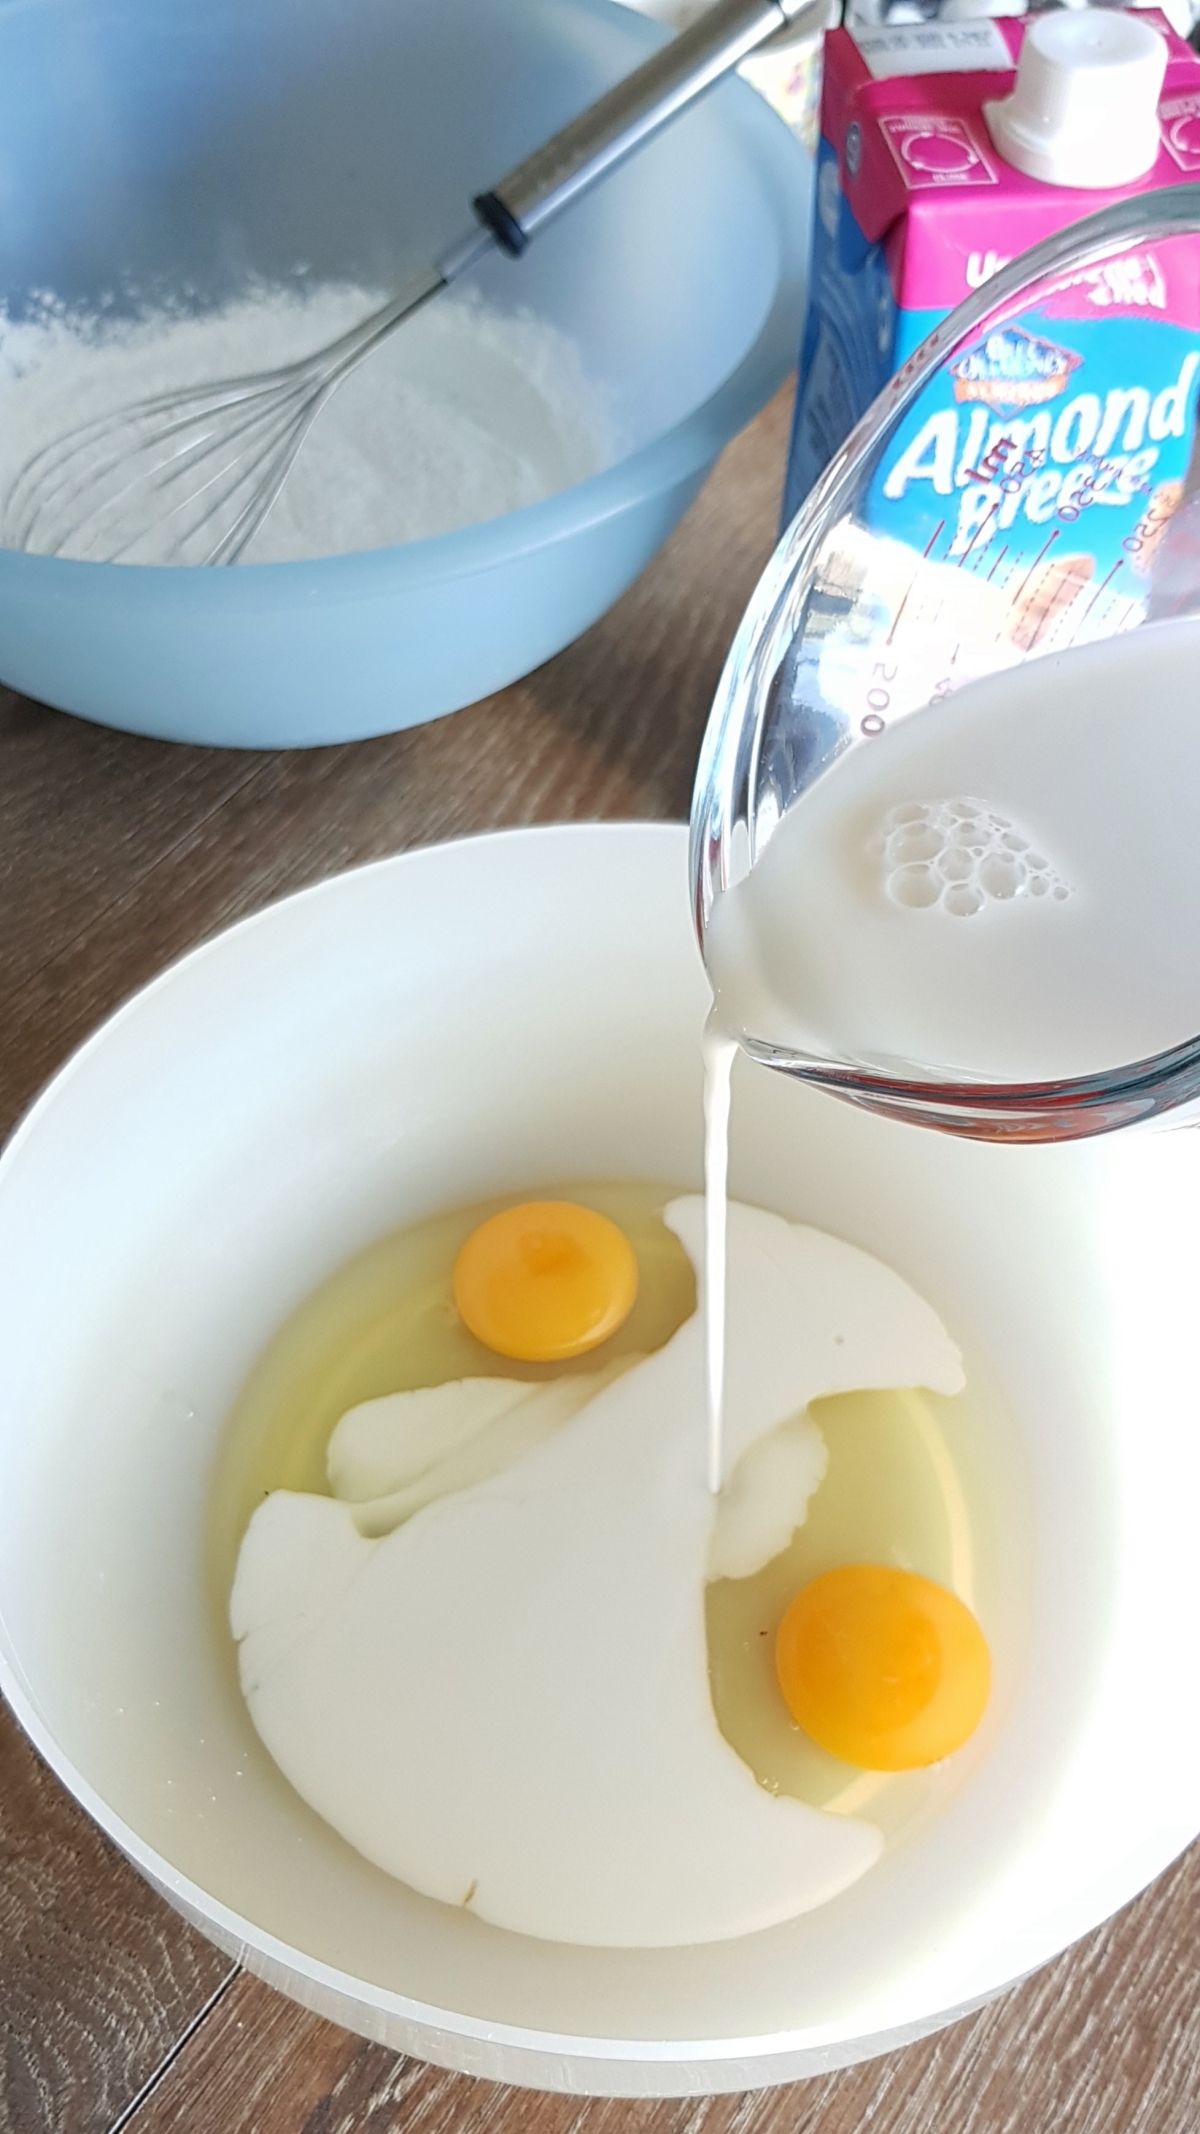
- This should really go without saying, but make your pancake batter first before heating up your pan, so that you’re good to go when it is at the right temperature.
- I also put my oven on about 100° C and put a oven safe plate on the middle shelf, then as I make the pancakes, I transfer them to the oven to keep warm. This way they stay moist , keeping their crispy edge and hot until they are ready to be eaten.
So let’s get to it!
Click through the slideshow of some of the steps involved.


I hope you enjoy this premix
Please be sure to come back and leave a comment and rating if you try this premix and let me know how you liked it. You can keep up to date with all recipes and new blog posts by clicking on the follow button on the blog. Follow me on Instagram for all my baking news, taster box specials and more.
Pingback: Premixes – Bonnie's GF Bakery